
Cheese Burger Casserole (Gluten-Free, Keto-friendly!)
Today is exactly one month until my birthday! I can’t believe it’s already September. Time feels like it’s stopped but is also moving at warp speed.
I CANNOT WAIT! To start making pumpkin everything. This fall looks a little different, where I’m not drowning in new sweaters and drinking Punkin Ale. While both are tradition, I haven’t worn anything but leggings in 6 months… and I am going the low-carb route to reset my metabolism and blood sugar. Perhaps a little bit of calorie cutting…. I still have to fit into my sweaters from last year.
So, the interesting thing about low carbs is all the hype about how cool and effective the Ketogenic diet is, and how you just lose weight super fast and it’s sooo great! Well, maybe… but also, no. A bit of science on how this works:
Most of us know what macronutrients, or macros are. These are carbohydrates, fat, and protein. When you eat, your body will seek to burn carbohydrates first from foods, and then fat and protein. Without the go-to of carbohydrates for energy, your body will burn fat instead…. This metabolic state is called ketosis. With your macros, a typical ketogenic ratio is 5:20:75 – carbs, protein, and fat %. This helps maintain that state, and can contribute to fat loss.
It’s a lot of hard work to count macros so specifically, but with an increase in energy, mental clarity, reduced bloating and potential weight loss, it’s rewarding!
So having said that… what do you cook?
…..a Hamburger. Sort of.
Enjoy this recipe and just picture a Big Mac. You can do it. Just close your eyes. It sort of works.
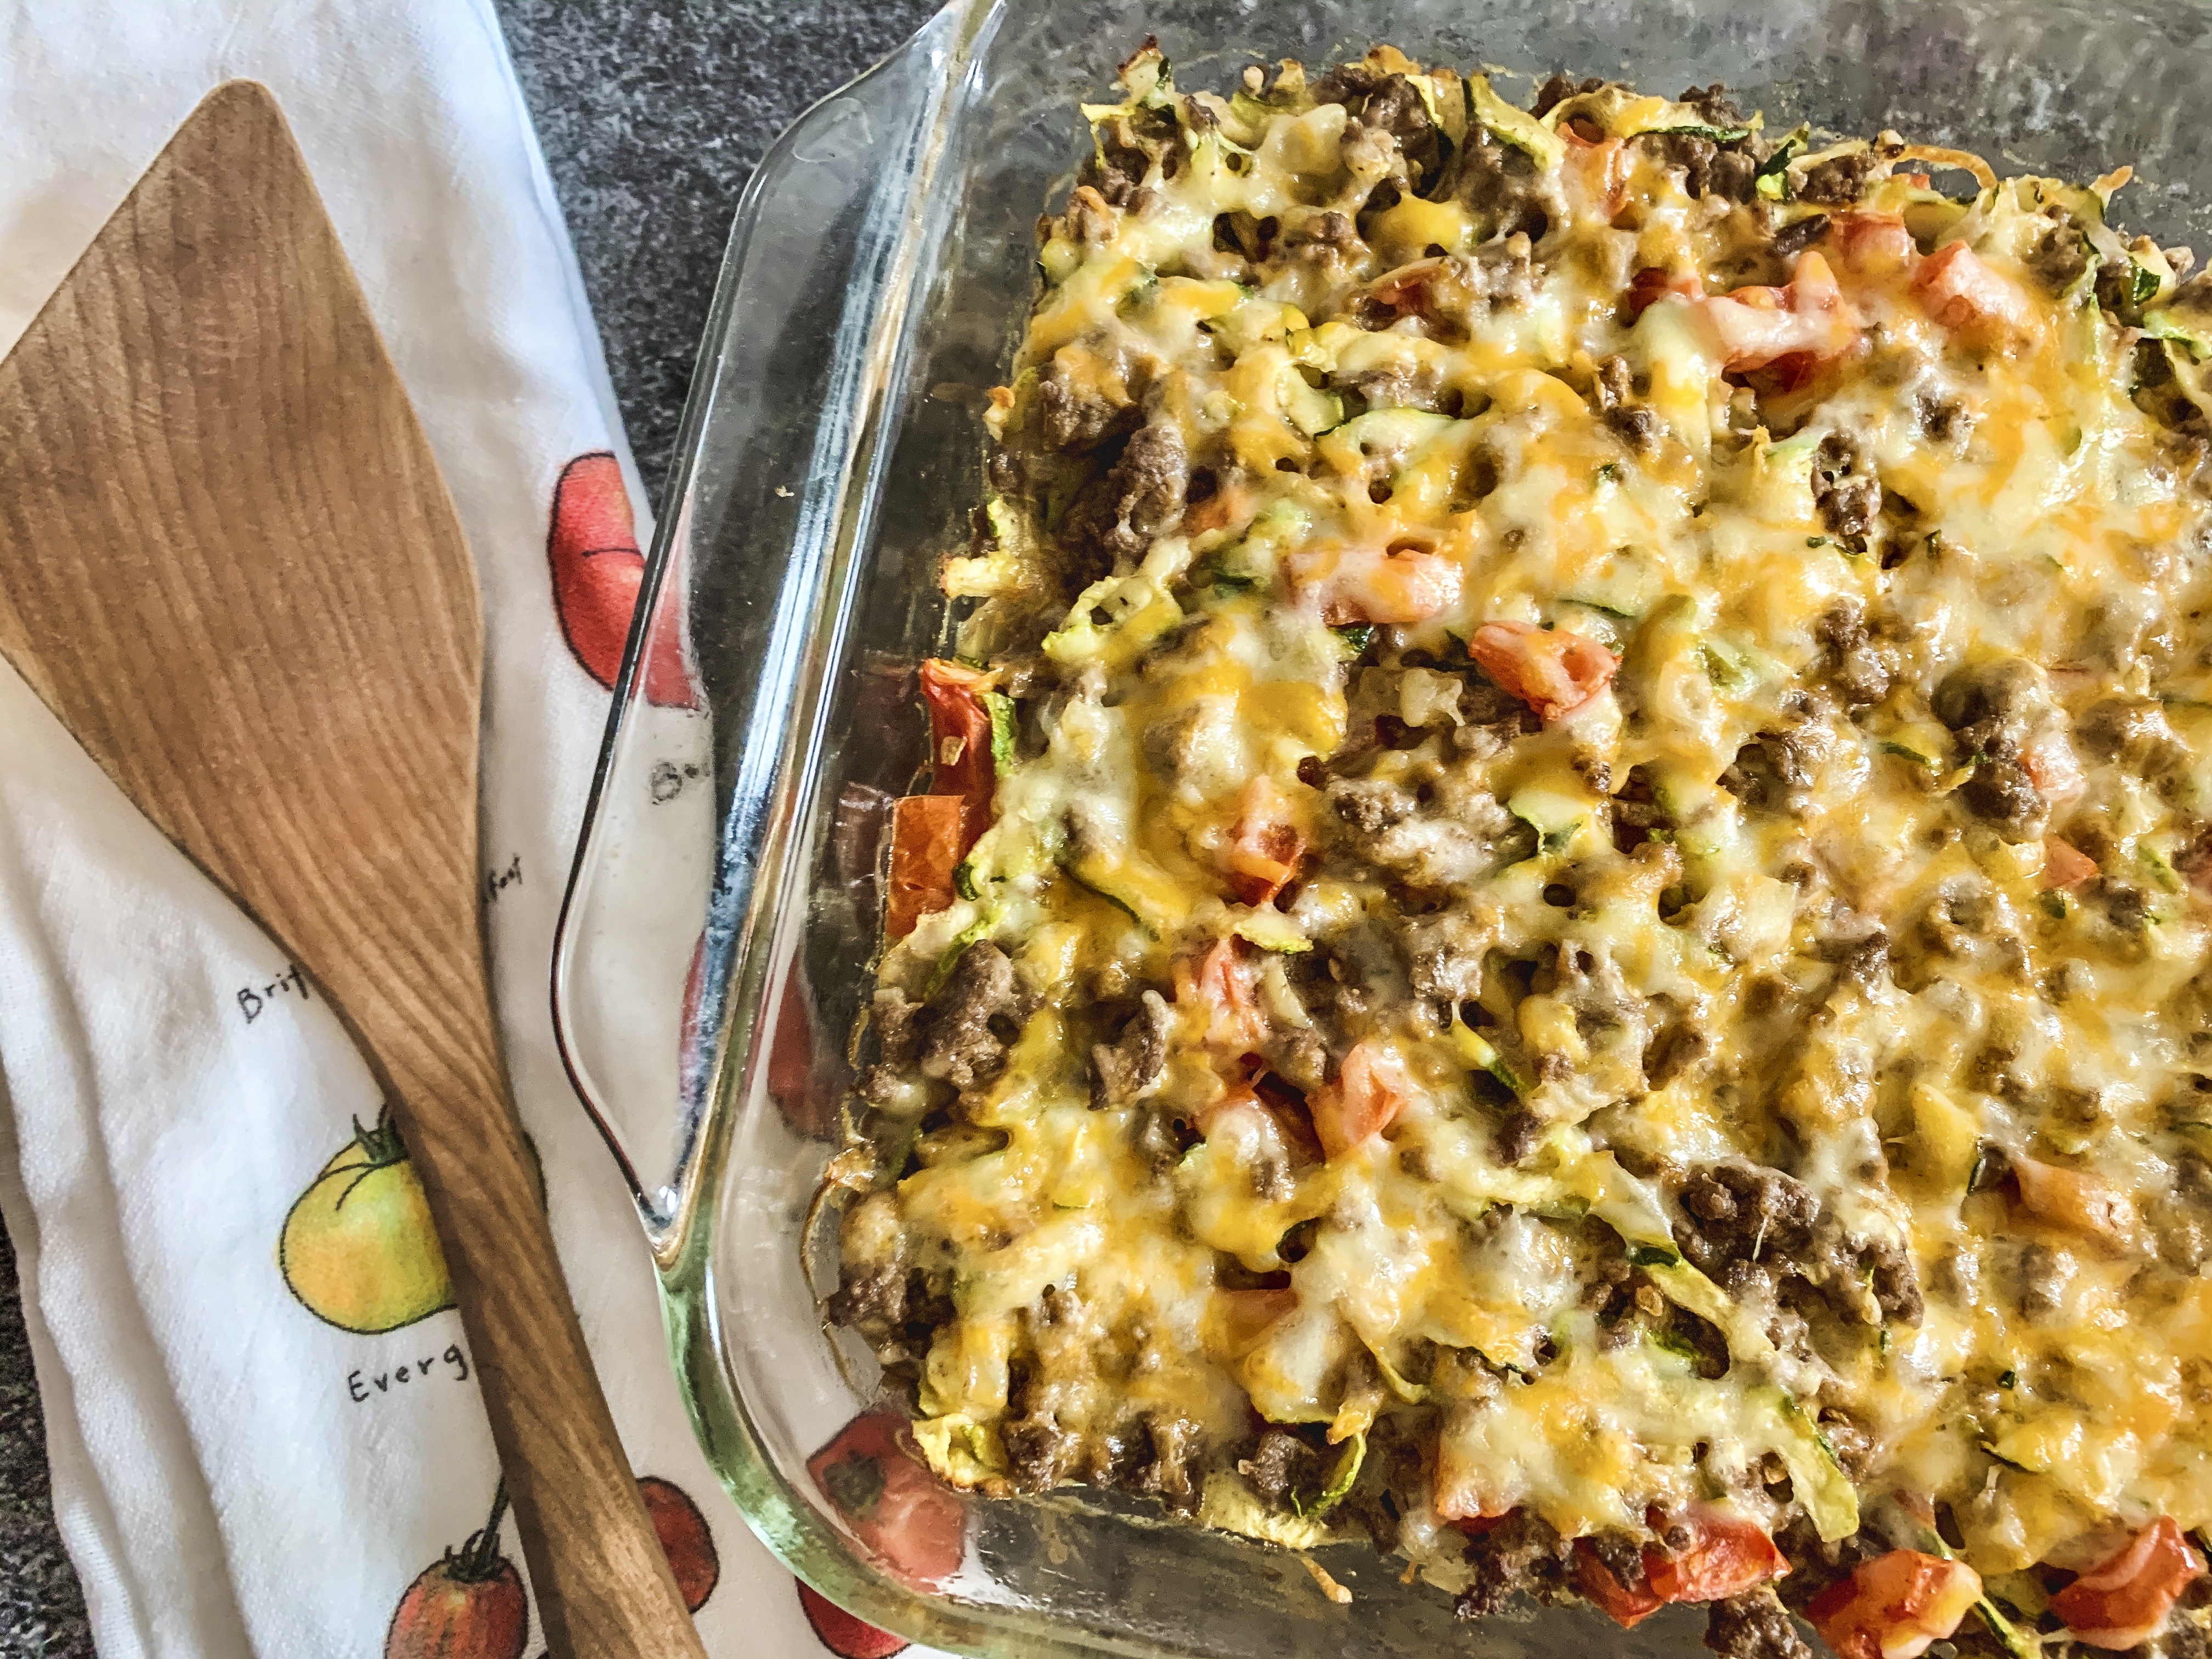
Cheese Burger Casserole (Gluten-Free, Keto-friendly!)
Prep time: 15 min
Cook time 45 min total
Serves 4-5
Ingredients
- 1 lb lean ground beef (I used 90/10)
- 1 medium zucchini, grated (pro tip: I shredded mine first thing in the morning and let it sit on a paper towel/plate to dry out all day until I cooked it. Less water = better casserole!)
- ½ medium sized yellow onion, diced
- 1 small tomato, diced
- 1 heaping tbsp Grey Poupon Dijon
- 1 tsp paleo-friendly Worcestershire sauce
- 1 tbsp vegan or paleo-friendly mayonnaise
- ½ tsp sea salt, plus more to taste
- pepper, to taste
- 1 tsp hot sauce of your choice
- ½ cup shredded cheddar/Colby mixture, plus a pinch more for the top
Directions
- In a large frying pan, add your onion and preferred cooking fat. Sauté until translucent, about 4-5 minutes. Add your ground beef, breaking up into small pieces. Sauté until browned, about 10-15 minutes. You may want to drain the liquid and fat from the pan if any collects – I use a turkey baster and remove it.
- Once cooked, remove the ground beef from your pan and add to a large mixing bowl. Preheat your oven to 350 degrees F.
- Next, add your zucchini, cheese, tomato, Dijon, mayo, hot sauce and sea salt to the mixing bowl. Mix together thoroughly, tasting and adding any additional salt or pepper.
- In a greased pyrex dish (I used a 9X9in – it all fit perfectly!), pour your mixture into it, ensuring an even layer. Sprinkle your remaining cheese over the top.
- Bake for 25-30 minutes, until bubbling, and cheese has melted. Enjoy!
-S


